Showing posts with label Nail Polish. Show all posts

Friday, December 30, 2011

New Year Nails (Tutorial)

Here's a tutorial on what may be my last nail art design for 2011!!!

Start off with clean nails and apply Base Coat. I used Jordana Nail Lengthener. Wait for it to completely dry. Then apply 2 coats of any whitish-golden nail polish or silver glitter polish.
Here I used Celin Paris's # 05.


This is what it should look like:


You can also use a silver toned nail polish like Maybelline Colorama Glitter Prata.


Wait for this to completely dry. Then use a make-up sponge like so:


And smear some Pink Glitter Nail Polish on it. The nail polish I am using here is called Shine Divine from Nail Trend, which I bought from Reliance Trends/Timeout!!!


And it should look like:


Now wait for this to completely dry as well! And then apply a generous coat of Top Coat. I'm using my favourite Maybelline Colorama Brillo.


And now it is time for the rhinestones. The ones I'm using are square rhinestones. You can get an equally interesting look with the regular round rhinestones!!!


 Now, I will be sticking some rhinestones! So to pick them up to apply on your nails, dip a clean cotton bud in water. And just touch it to the top of the rhinestone. You will see that the wet cotton bud will act as your own DIY Rhinestone Pick Up Tool.
Pick up the rhinestones one by one and lay them on your nail in your desired design while the top coat is still wet! You can apply as much top coat as you see fit but just be careful that you get a clean finish.
I wanted to welcome the new year, so I have a digital blingy rhinestone "2" which looks like:


And my completed nail art design looks like:


And I just stuck some random rhinestones on my thumb nail!
And that's all that this was about:


So hope you like it!!!


Happy New Year!!!


PS: I have updated my blogspot address. My Blog URL is now:

thenaildesigner.blogspot.com

Also, make sure you like my Facebook page on the right! Or Just click here and view my previous nail art!

Have Fun this 31st!!!

Yours till you go for a New Years Party,

S!


Monday, December 26, 2011

Angel From The Skies Nail Tutorial

How I wish I could be an angel!!! But I'm as human as you!
So I thought I would make one on my nails!!!


 I started off with applying Jordana Nail Lengthener as base coat.

Then I applied two coats each of Turquoise Blue # 68 from Nail Juice on my index, middle and little finger. I applied two coats of Snow White #177 from Street Wear on my ring finger to creat a white back ground for my Angel!


After which I painted out the Angel's face and neck Maybelline Colorama in Beige Natural.


I also added the angel's blonde hair with some random yellow nail polish!!!


Using Ron Xin Nail Art Pen in Black, I drew out the out line for the Angel's hair and face. I also added her eyebrows and smile.


I applied two tiny dots of the same Turquoise Blue from Nail Juice for her eyes and also drew out her halo.


And I added the clouds on the other nails with Rong Xin Nail Art Pen in white. I finished off the nail look with Maybelline Colorama Brillo as Top Coat.


And that is all this was about!!! Hope you liked it!


Yours till you believe in Angels...

S!

Saturday, December 24, 2011

Deborah Milano Sense Tech Matte Nail Polish Review

Up until now I had only seen Matte nail polishes on YouTube on foreign beauty channels! I longed for the day I would get to buy Matte Nail Polish.The other day, while randomly surfing GoodLife.Com, I stumbled upon this!

This is the Deborah Milano Sense Tech Matte Nail Polish #10.


They Say: 
It is a 100% Matte Nail Polish. Gives a Velvet Effect (Effetto Velluto, love how that sounds!!!)

I Say:
Thanks for making my dream come true. This stuff dries in 30 seconds flat. And they don't even advertise it that way!!!

I bought this for Rs.250 or $5.00 (Approx) from GoodLife.Com! And they sent it to me by Blue Dart in 24 hours flat! How cool are they!!! And no shipping fees! I hate shipping fees!


It says on the bottle to apply it on plain nails only! So one can't use it on base coat! Here, I have applied just one coat! See how shiny it is when it is first applied! I swear I was frowning. You don't expect that from a Matte Nail Polish!

 
I somehow like any colour on the spectrum of blue! So I liked how the colour looked though!!!

And then I might have just blinked for a second or two and it suddenly turned into a gorgeous matte finish! All in a matter of seconds!!!


In the picture above, I have just applied one coat of the polish! And I am surprised at how opaque it is! It is also scratchproof! I tried scratching it off with my nails and I couldn't see any scratches! The finish was just the way it was: Matte and Fabulous!!!

Would you give this a try???

Yours Mattifying-ly,

S!

Wednesday, December 21, 2011

Christmas Nails (Tutorial)

Just 4 more days and it's Christmas! Everything around you is going to be red and green soon! And yeah I somehow always disliked the man pretending to be Santa. So I decided, I'll have my own Santa  x 5 On My Nails!!!

Wanna see how??? You will need:
1. Base Coat
 

Here I am using Jordana Nail Lengthener as my base coat. I don't remember the last time I wore nail polish without base coat! Maybe when I was in school! I don't intend on sounding vain, but then base coat really helps you protect your nails and also makes them stronger! So apply one coat of this!

2. Nail Polish And Top Coat


For this tutorial, I am using Maybelline Colorama #40 in Graus! Apply about 2 coats of Graus. Make sure your polish is even for a finished look.

 Before you proceed to the next step, wait for Graus to completely dry out to prevent a literally bloody mess on your nails!!!

And once our design is done, towards the extreme end of the tutorial, we will need to seal it in with Top Coat. I'm using Maybelline's Brillo!

3. Time to bring in The Merry Boys : Santa Nail Stickers


Now if you are artistically adventurous, you can make these designs with a dotting tool, nail art brush and acrylic paints. I found these cute stickers that make life so much easier! I bought them from The New Beauty Centre, Bandra, and they just cost Rs. 40!


4. Faces Rhinestone Tweezers


If you thought that tweezers only pluck out hair then think again. Tweezers are very useful in nail art too. Here I used tweezers to neatly take out the Nail Stickers and place them on to my nails for an even flat finish!

Now carefully take out the stickers one by one and stick them onto the desired part of your nail. I stuck them randomly wherever I felt like it!

 5. Rong Xin Nail Art Pen


What's Christmas without snow??? Use the Nail Art Pen to make tiny dots resembling snowflakes! You can also use a white nail polish. Simply take a drop of nail polish on a paper and make the dots using a dotting tool or a tooth-pick!


And finish off with Maybelline Brillo or any top coat of your choice! And that's it! Enjoy your nails!


And that's all that this was about:


Merry Christmas!


 Yours till they celebrate Christmas!

S!

Tuesday, December 13, 2011

10 Things To Buy Under Rs.100 Each

Got 100 bucks for beauty??? Here's what you can buy:


1) Biotique Fruit Whitening Lip Balm Rs. 90

They say: 

This de-pigmentation balm visibly lightens lips for a fairer skin tone.
Lightens & Evens-out Lip Tones.  

I say:


Well, It works! I observed that my lips felt soft and nourished as well! I've been using this stuff for about 2 weeks and let's see how it does over a month. But I just love the feel of this on my lips! Plus it's completely natural and herbal like all Biotique stuff!!!
And that's how it looks:


You can buy it here from Cosmetix.in!  


2) Garnier Skin Naturals Body Coccoon Rs. 90 for 125 ml


They Say:
If your skin feels dry, rough, flaky, tight and you want a moisturising body lotion that will soothe and restore the skin's suppleness leaving it feeling unbelievably soft. 


I Say:
I've been a fan of this since time immemorial. And hence I have included it in this post. The fragrance of this will leave the best of the men mesmerised! And the feel of the creamy goodness is absolute bliss!!!
Buy it even if you don't have dry skin! I have normal skin and wear this every day after a hot bath! 


3) FACES Cerulean Nail Polish Rs. 99


This is a new brand launched in India. Their Flagship store in Mumbai is at Infinity Mall, Malad, Mumbai. And this nail polish is the first thing I bought!

Cerulean as it's called is a luscious blue with hints of green! It suits any and every skin colour. Here I'm wearing it on my toe nails!


4) Rong Xin Nail Art Pen Rs.90


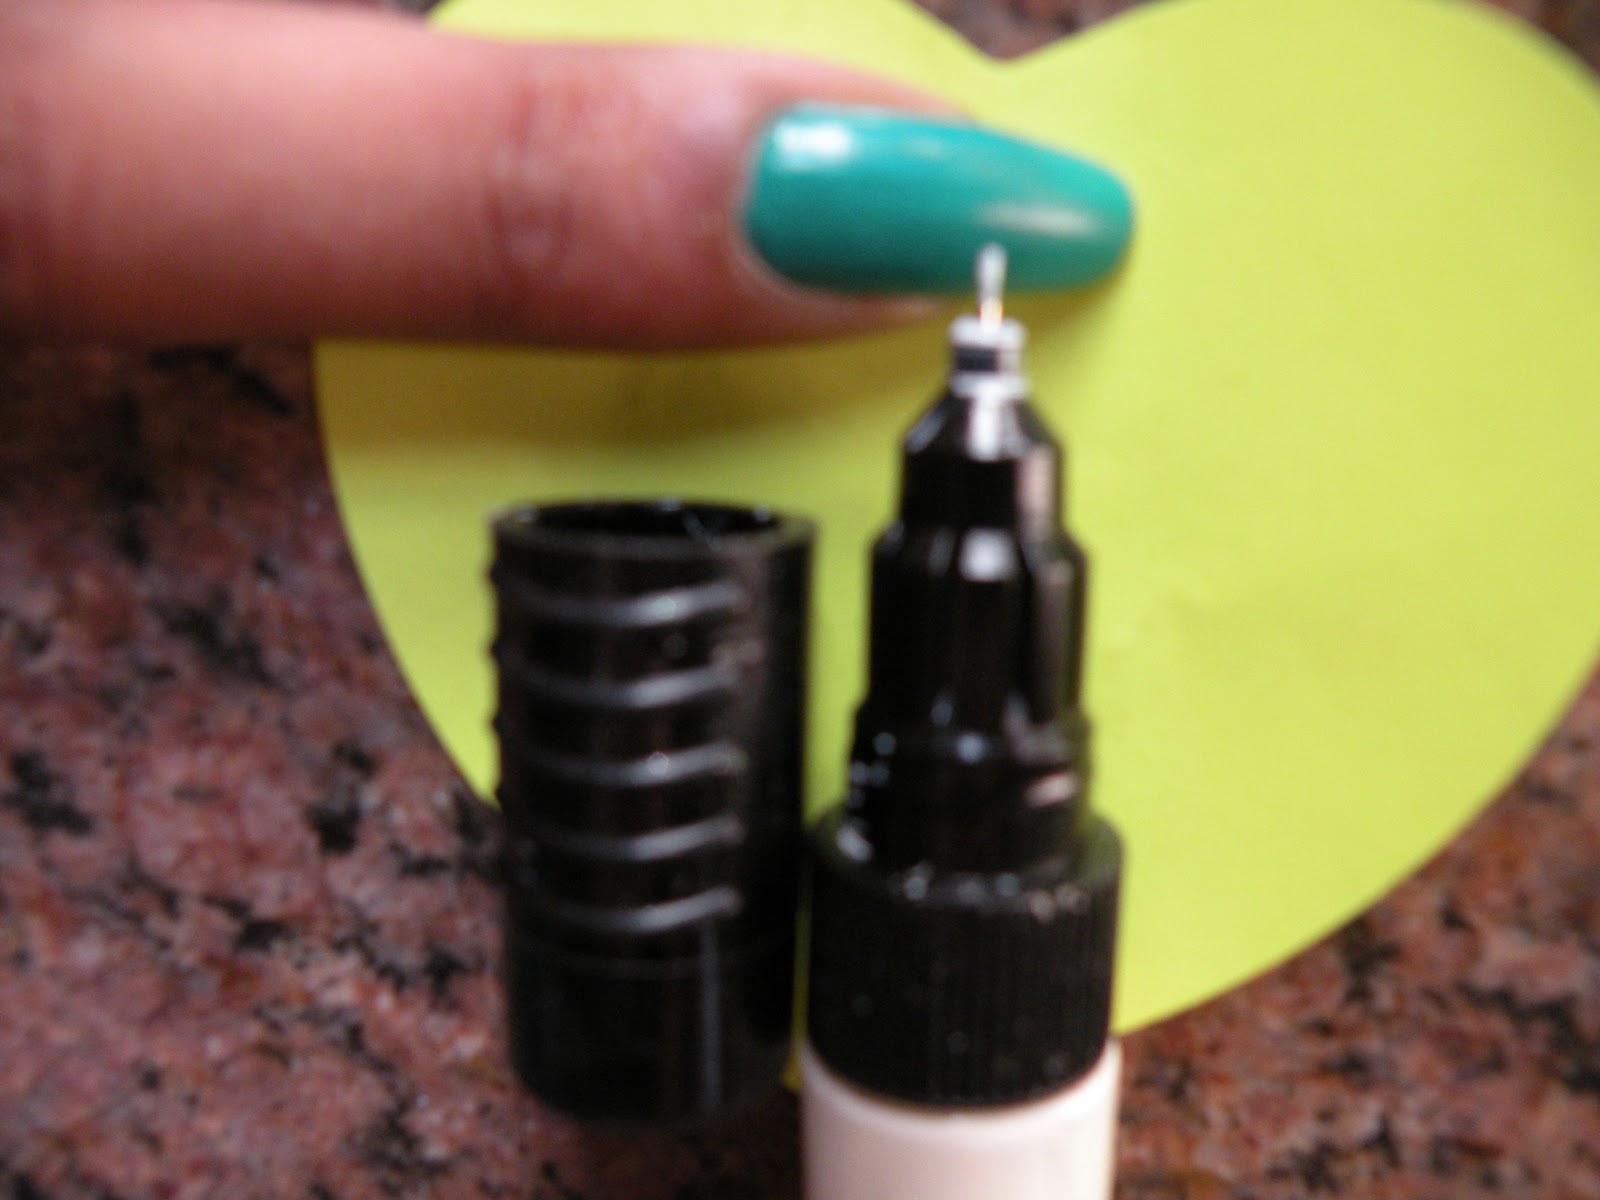
This one is the first thing that every nail art enthusiast should have. It has a micro tip pen and that opens up into a striper brush as shown in the picture. I used that to make the waves on my big toe. The middle barrel is contains nail polish.The colour is strong and shows up even on the darkest polishes.
It is available in a range of colours from plain matte colours to shiny metallic ones. I bought mine from The New Beauty Centre in Bandra, Mumbai.

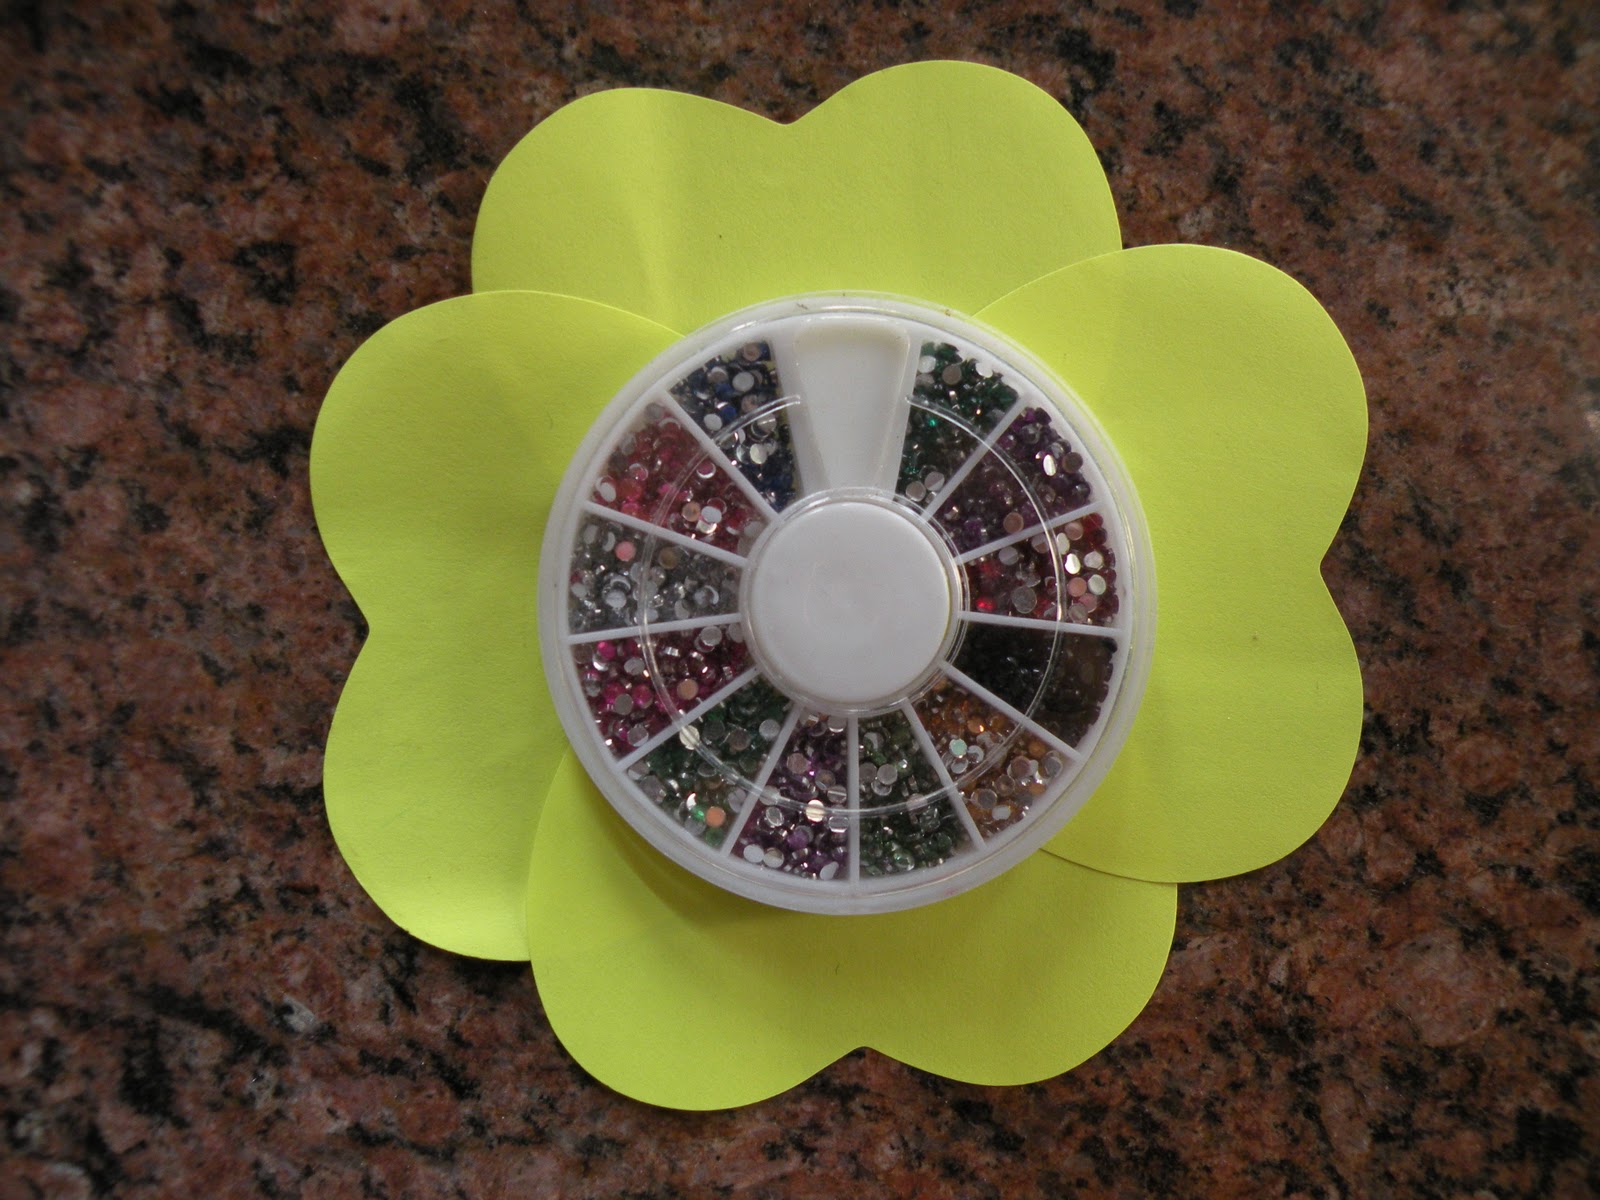
5) Rhinestones From E-bay. Rs. 45 or $1!!!


I was surprised to have this delivered home and still pay Rs.45 only!
You can not only use this on your nails but also on your face with some lash glue! I'm thinking of a post on the many uses of rhinestones and other rhinestone design ideas so watch out for that!!! You can buy this on Ebay.com following this link!
 

6) Basicare Eyeshadow Brush Rs.95


They say:
Made of soft nylon bristles, Basicare Eyeshadow Brush works up for precise and subtle application. It is perfect for contouring, shaping and blending of eyeshadow colours. It can be used with cream or powder eyeshadow. Use mild soapy water for cleaning the supple bristles and allow to dry naturally.

I say:
This is a great alternative for expensive brushes! If you use more of powder eyeshadow than cream eyeshadow then you can easily switch between colours as the colour comes off the brush very easily!!!
It's a multi-purpose brush and for that price, it's a steal!!!

7) Kara Makeup Removal Wipes - Seaweed & Lavender(25 wipes) Rs. 90


They Say:
These wipes are made of Birla CelluloseTM, a fibre that is 100% natural and biodegradable and are completely safe on skin. Pure Lavender extracts help you cleanse face and neck and leaves a relaxing effect. Seaweed extract revitalizes and nourishes the skin making it soft and supple. Dermatologically safe. For that just out-from-shower look!

I Say:
For someone who wears make up every day, one needs have this in their bag at all times! I love the feel of the wipe on my face and also love it's fragrance, It makes me feel beautiful! It's the best time saving and no-fuss way to remove your make up. With this, you may never revert to your oily, creamy or foul smelling make up remover again.

8) Elle 18 Color Pops Lipstick for Rs. 100


They Say:
A blast of color with the punch of cocoa. Available in 25 trendy shades, the intense moisturizing core protects your lips.

I Say:
A lipstick which is so cute only for Rs.100, Thank you Elle 18! I have loved Elle 18  since I was a child. What I also like about them is that they have always been affordable!
The shade shown above is 08- Pomegranite Pie. And it smells like bubble gum. 


You can buy it here for Rs. 95 only from Cosmetix.in


9) Vega Eye Smudger Rs. 60


They Say:
To create soft liner color for a smoky effect. Start with powder cake liner or pencil and follow with this firm PVC foam eraser-like tip to smudge off excess to create the smoky look desired. Professional size sponge tip.

I Say:
Well for Rs. 60, this is a steal and it's the perfect tool for wearing an understated smoky look to work. Just dip it in some cake eyeliner or gel eyeliner and smudge it across your upper and lower lash line. Top it up with some mascara and line your waterline with some kajal and you are good to go!

10) Elle 18 Blackout Liner Rs. 65

They Say:
Jet black and water-resistant eyeliner juiced-up with rose water.

I Say:
Aren't you the best eyeliner ever??? Now this is not waterproof. And I'm not a fan of water proof make up because it is so difficult to get off. I'd wear waterproof makeup only when it's raining. Coming back to this little baby in the cutest bottle ever, I'm glad they are selling this! I have worn it every day for atleast a month and there is still a lot left in there. The brush is the thinnest ever and you can customise your liner size because of this. Whether you want a winged eyeliner look or a slim line just to define your eyes or even the goth look... this one promises and delivers that solid black look you need from an eyeliner!!!


Here, I am also wearing Lakme Eyeshadow. It's the Green colour from their Peacock Quad!


Bonus:

I have been reading Cosmopolitan forever... even when I was not supposed to as a child!!! But then a magazine that is officially the ultimate girl guide, which girl wouldn't be a fan? The issue in the picture above is The Beauty Issue and that is why it is featured here. And it is for Rs. 100!!!


And that's all that this post was about!


I hope you enjoyed reading it and I will look forward to your comments and suggestions.

Till then,

Stay Pretty!!!

Love And Rockets,

S!